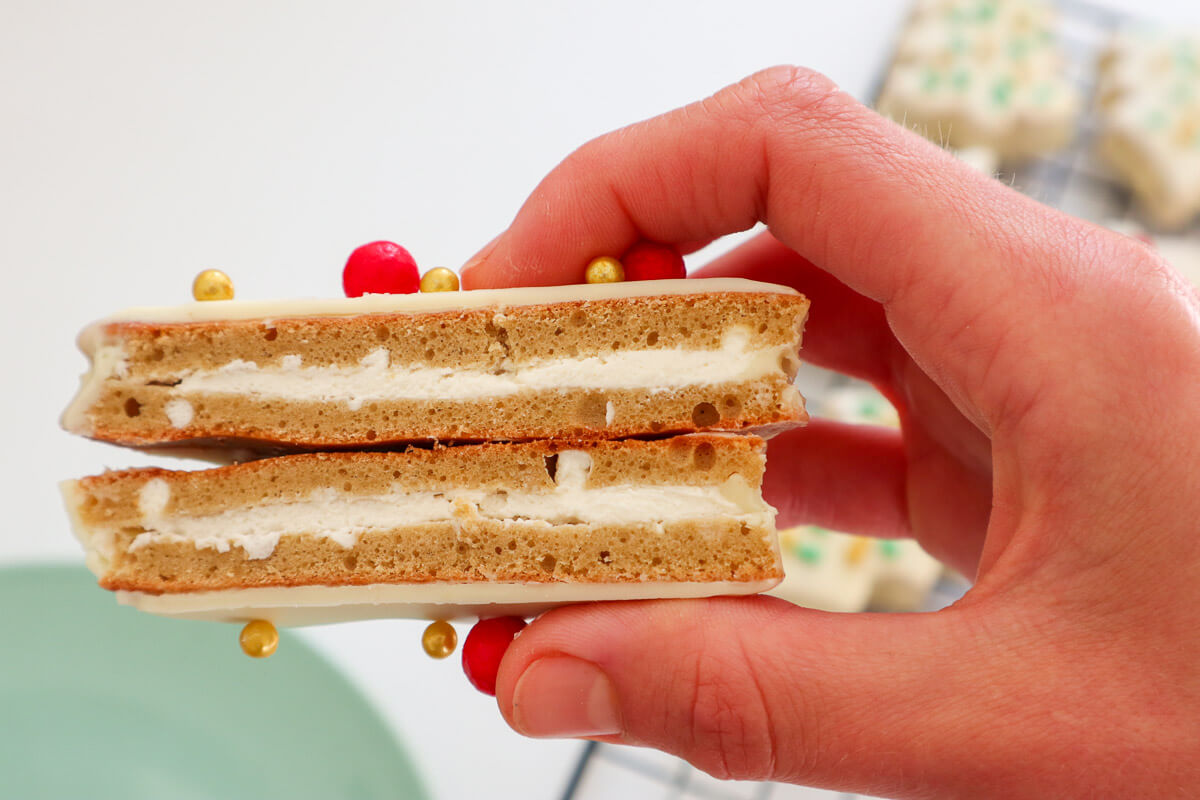
The homemade version of everyone's favorite childhood Christmas treat - the Little Debbie Christmas Tree Cake.

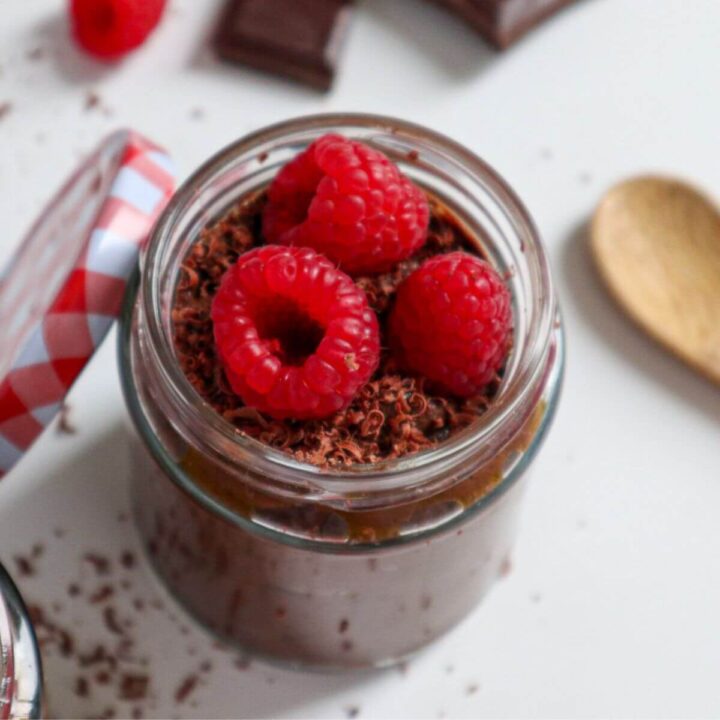
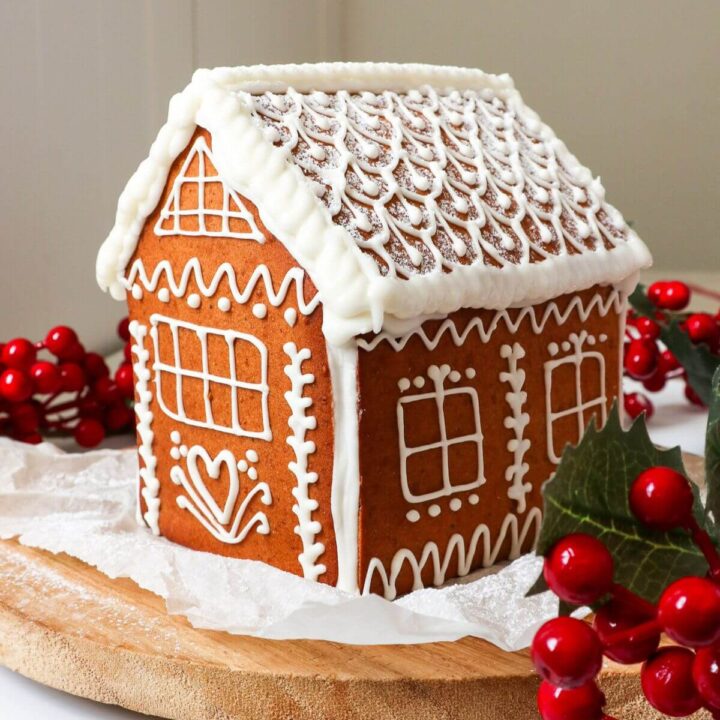
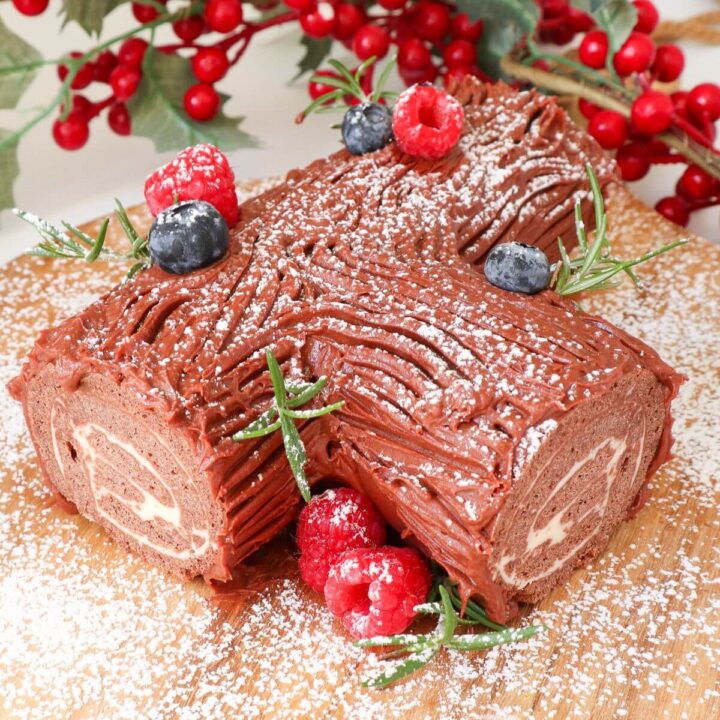
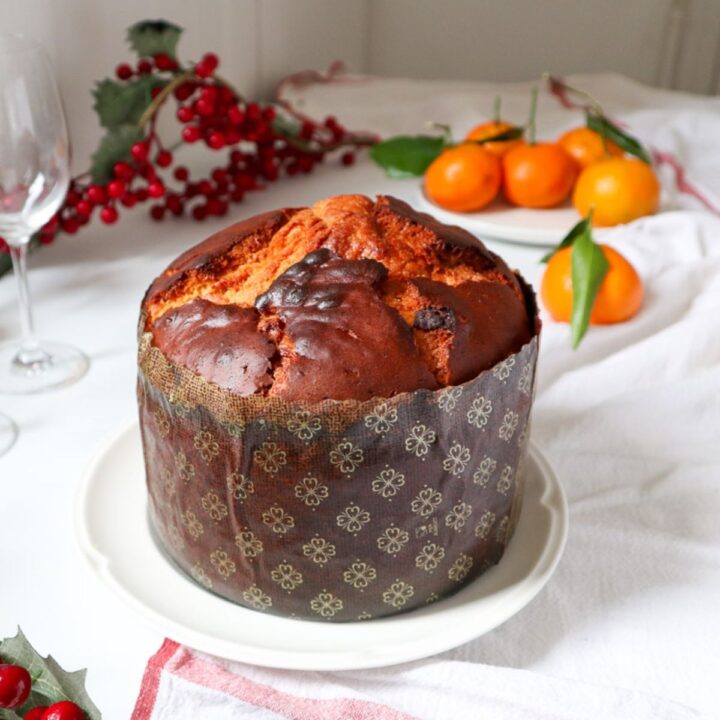
This recipe was inspired by Best Buttery Holiday Sand Tart Cookies, Easy Vegan Chocolate Yule Log Recipe, Classic Panettone: The Traditional Italian Christmas Cake and How To Make A Festive Gingerbread Cake House.
Jump to:
Little Debbie Christmas Tree Cake
Litte Debbie tree-shaped cakes are probably everyone's favorite childhood festive treat. These mini cakes have the perfect yellow cake and vanilla cream filling dipped in some chocolate ganache and are the perfect sweet treat for any occasion. But Christmas being the most popular one.

Homemade Cakes
Given that Little Debbie tree shapes were so popular, it only made sense to try and reconstruct the Christmas tree cake recipe this holiday season and make it a homemade treat. And it turns out it's not really that complicated at all.
The dipping part is the only thing I don't really enjoy just because I always get that festive dip all over the kitchen counter, but the end result makes up for it. So, if you want to give it a try yourself, keep on reading.
Ingredients For Little Debbie Snack Cakes

To make these delicious Christmas trees, you will need the following ingredients:
- eggs: I always use free-range or organic eggs and I suggest if you can you do the same.
- all-purpose flour: it's the flour I use for any sponge, but self-rising flour is also a great alternative.
- coconut sugar: if you've made any of my cake recipes, you'll know that I almost always use coconut sugar as a sweetener for my baked recipes and this one is no different. But really any other solid sweetener is a good enough substitute.
- butter: make sure the butter is melted before you add it into your batter. And if you can get an organic one, please do.
- cornstarch: this might not be the most often cake ingredient, but I find it gives a very firm and tasty sponge that we need to assemble these tree cakes.
- whipped cream: heavy, dairy-based whipped cream is what you need to make the best vanilla cream frosting. I wouldn't recommend substituting it with any other ingredients such as sour cream.
- powdered sugar: soft powdered sugar is the best sweetener to add to the whipped cream for the vanilla frosting. It might not be the healthiest but for a holiday treat we can close our eyes on that for a second.
- vanilla extract: either a vanilla extract or some vanilla powder is what you need to bring out the vanilla taste from your frosting.
- white chocolate: if you can get some organic white chocolate that would always be the option but if not, that's also fine
- oil: plant-based oil such as sunflower oil is good enough here to add to the white chocolate for a nice and shiny dip.
See recipe card for quantities.
How To Make Little Debbie's Christmas Tree Cakes Step-by-Step
Follow these simple steps to make the perfect Christmas tree cakes for your next holiday party.
Making the sponge

1. Preheat the oven to 170 degrees Celsius or 340 degrees Fahrenheit.
2. Crack the eggs and put them in a large bowl.
3. Add the sugar to the mixing bowl and mix at medium speed with either an electric hand mixer or a stand-alone mixer until you get a light-yellow color mixture that has doubled in size. It will take about 5 - 7 minutes.
4. Now add the flour, cornstarch and salt.
5. Mix gently with a silicone spatula. Make sure that you are not overmixing and therefore letting excessive air out of the sponge batter.
6. Add the melted butter and again gently mix with the spatula.

7. Line a rectangle (25 x 20 cm) cake tin with parchment paper and grease the sides with butter.
8. Transfer the sponge batter into the cake tin and bake in the oven for about 20 - 25 minutes.
9. Once the sponge is baked, remove from the oven and let it cool in the cake tin for about 10 minutes.
10. Gently release the sides of the cake tin and flip the sponge to let it cool on a cooling rack.
Making the vanilla cream

1. Put the whipped cream, powdered sugar and vanilla into a bowl of a stand mixer (or a medium bowl if using an electric hand mixer).
2. Fit the whisk attachment to a stand mixer or use an electric hand mixer to whip the whipped cream with the powdered sugar and vanilla until stiff peaks form.
Assembling Little Debbie Christmas Tree Cakes
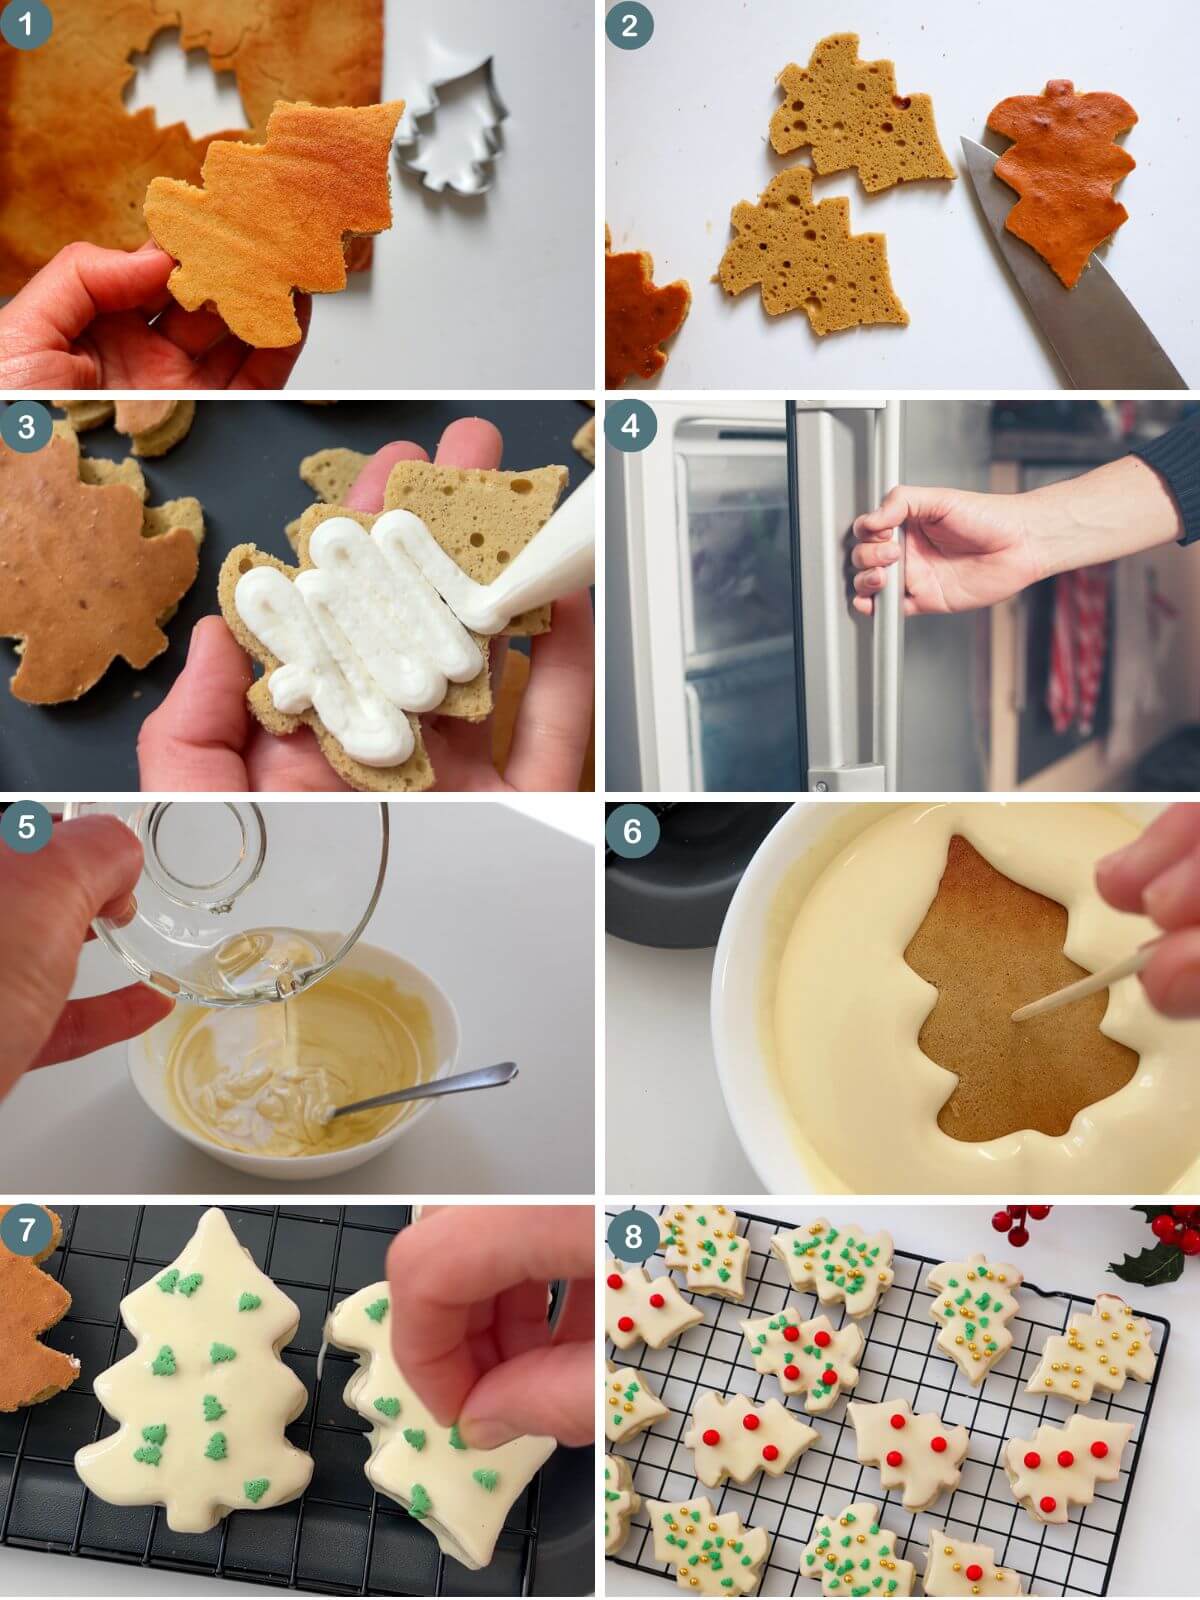
1. Once the sponge has cooled, cut out Christmas trees with a tree cookie cutter.
2. Slice the trees in half lengthwise.
3. Spread the vanilla frosting on one slice of the Christmas tree and place the other one on top. You can also do this by using a piping bag.
4. Freeze overnight.
5. Melt the white chocolate and oil in a microwave or over a water bath and mix together.
6. Remove from the freezer and dip into the white chocolate and allow to cool on a wire rack.
7. Add some holiday sprinkles like green sprinkles on top.
8. Place on a serving tray and enjoy alongside some fresh fruit.

How To Store Christmas Tree Cakes?
Your Little Debbie Christmas tree cakes are best stored in an airtight container for up to 5 days in the fridge.
If you are looking for some long-term storage, then you can put them in some silicone freezer bags and store in the freezer for up to three months. Just make sure to thaw them before serving.
Top tip
For the best sponge, the ingredients should be at room temperature for a few hours before you start using them to make your sponge.
FAQ
Try and avoid opening the oven until you can smell the sponge. If you can smell it and it is close to the end of the baking time you can open the oven and put a toothpick or a skewer in the middle of the sponge. If it comes out clean, the sponge is baked.
Of course. Simply change the all-purpose flour with a gluten free one.
Yes. I prefer using white to really make these treats like the Little Debbie ones, but you can always use dark or milk chocolate and then decorate with some white or red sprinkles.
Related
Looking for other recipes like this? Try these:
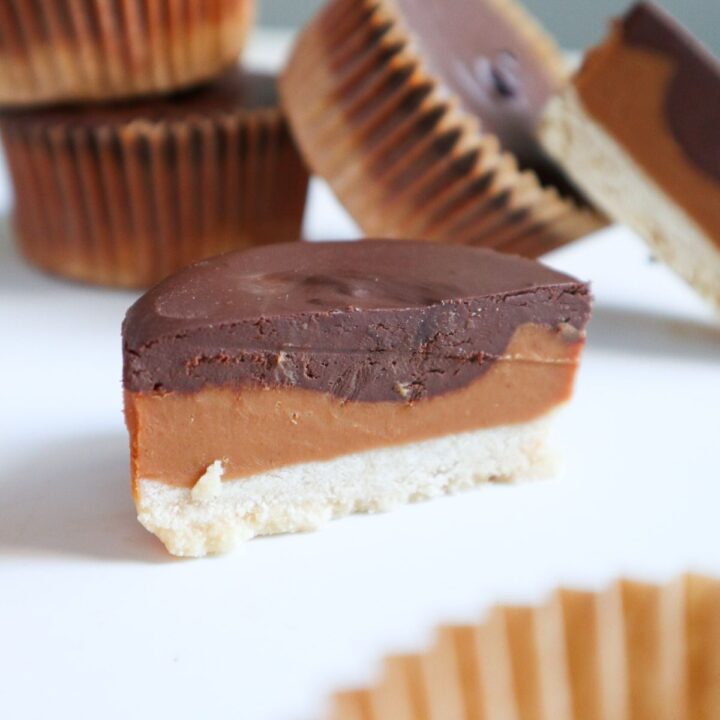
- Homemade Vegan Gluten-Free Healthy Twix Cups
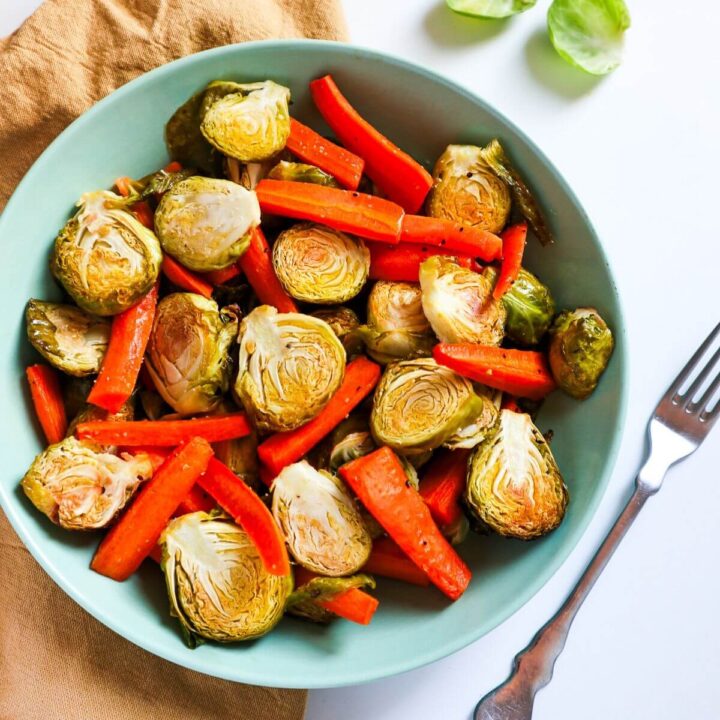
- Lemon and Garlic Roasted Brussel Sprouts and Carrots
- 3-Ingredient Vegan Avocado Chocolate Mousse
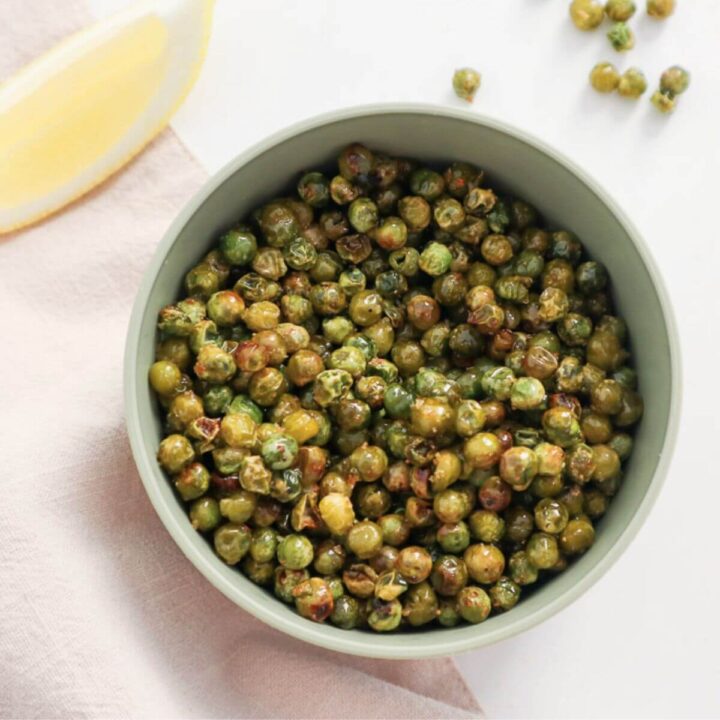
- Salted Garlic Crunchy Roasted Peas
If you've tried this or any other recipe from the blog, please leave a comment below and rate it.

How To Make Homemade Little Debbie Christmas Tree Cakes
EQUIPMENT
Ingredients
Sponge
- 6 eggs
- 1 cup coconut sugar
- 1 ½ cups all-purpose flour
- 1 tablespoon cornstarch
- 40 g butter melted
- pinch salt
Vanilla Cream
- 1 cup whipped cream
- 4 tablespoon powdered sugar
- 1 tsp vanilla extract
White Chocolate Dip
- 100 g white chocolate
- 25 g oil
Instructions
Making The Sponge
- Preheat the oven to 170℃ or 340℉.
- Crack the eggs and put them in a large bowl.
- Add the sugar to the mixing bowl and mix at medium speed with either an electric hand mixer or a stand-alone mixer until you get a light-yellow color mixture that has doubled in size. It will take about 5 - 7 minutes.
- Now add the flour, cornstarch and salt.
- Mix gently with a silicone spatula. Make sure that you are not overmixing and therefore letting excessive air out of the sponge batter.
- Add the melted butter and again gently mix with the spatula.
- Line a rectangle (25 x 20 cm) cake tin with parchment paper and grease the sides with butter.
- Transfer the sponge batter into the cake tin and bake in the oven for about 20 - 25 minutes.
- Once the sponge is baked, remove from the oven and let it cool in the cake tin for about 10 minutes.
- Gently release the sides of the cake tin and flip the sponge to let it cool on a cooling rack.
Making The Vanilla Cream
- Put the whipped cream, powdered sugar and vanilla into a bowl of a stand mixer (or a medium bowl if using an electric hand mixer).
- Fit the whisk attachment to a stand mixer or use an electric hand mixer to whip the whipped cream with the powdered sugar and vanilla until stiff peaks form.
Assembling The Trees
- Once the sponge has cooled, cut out Christmas trees with a tree cookie cutter.
- Slice the trees in half lengthwise.
- Spread the vanilla frosting on one slice of the Christmas tree and place the other one on top. You can also do this by using a piping bag.
- Freeze overnight.
- Melt the white chocolate and oil in a microwave or over a water bath and mix them together.
- Remove from the freezer and dip into the white chocolate and allow to cool on a wire rack.
- Add some holiday sprinkles like green sprinkles on top.
- Place on a serving try and enjoy alongside some fresh fruit.
Comments
No Comments