This is a super easy baby bread recipe for a wholewheat no-knead bread. Made with no sugar and a small amount of salt. Takes only 5 min of prep and you have a delicious homemade bread that will melt in your mouth. Perfect for your baby's first bread, delicious for the whole family.
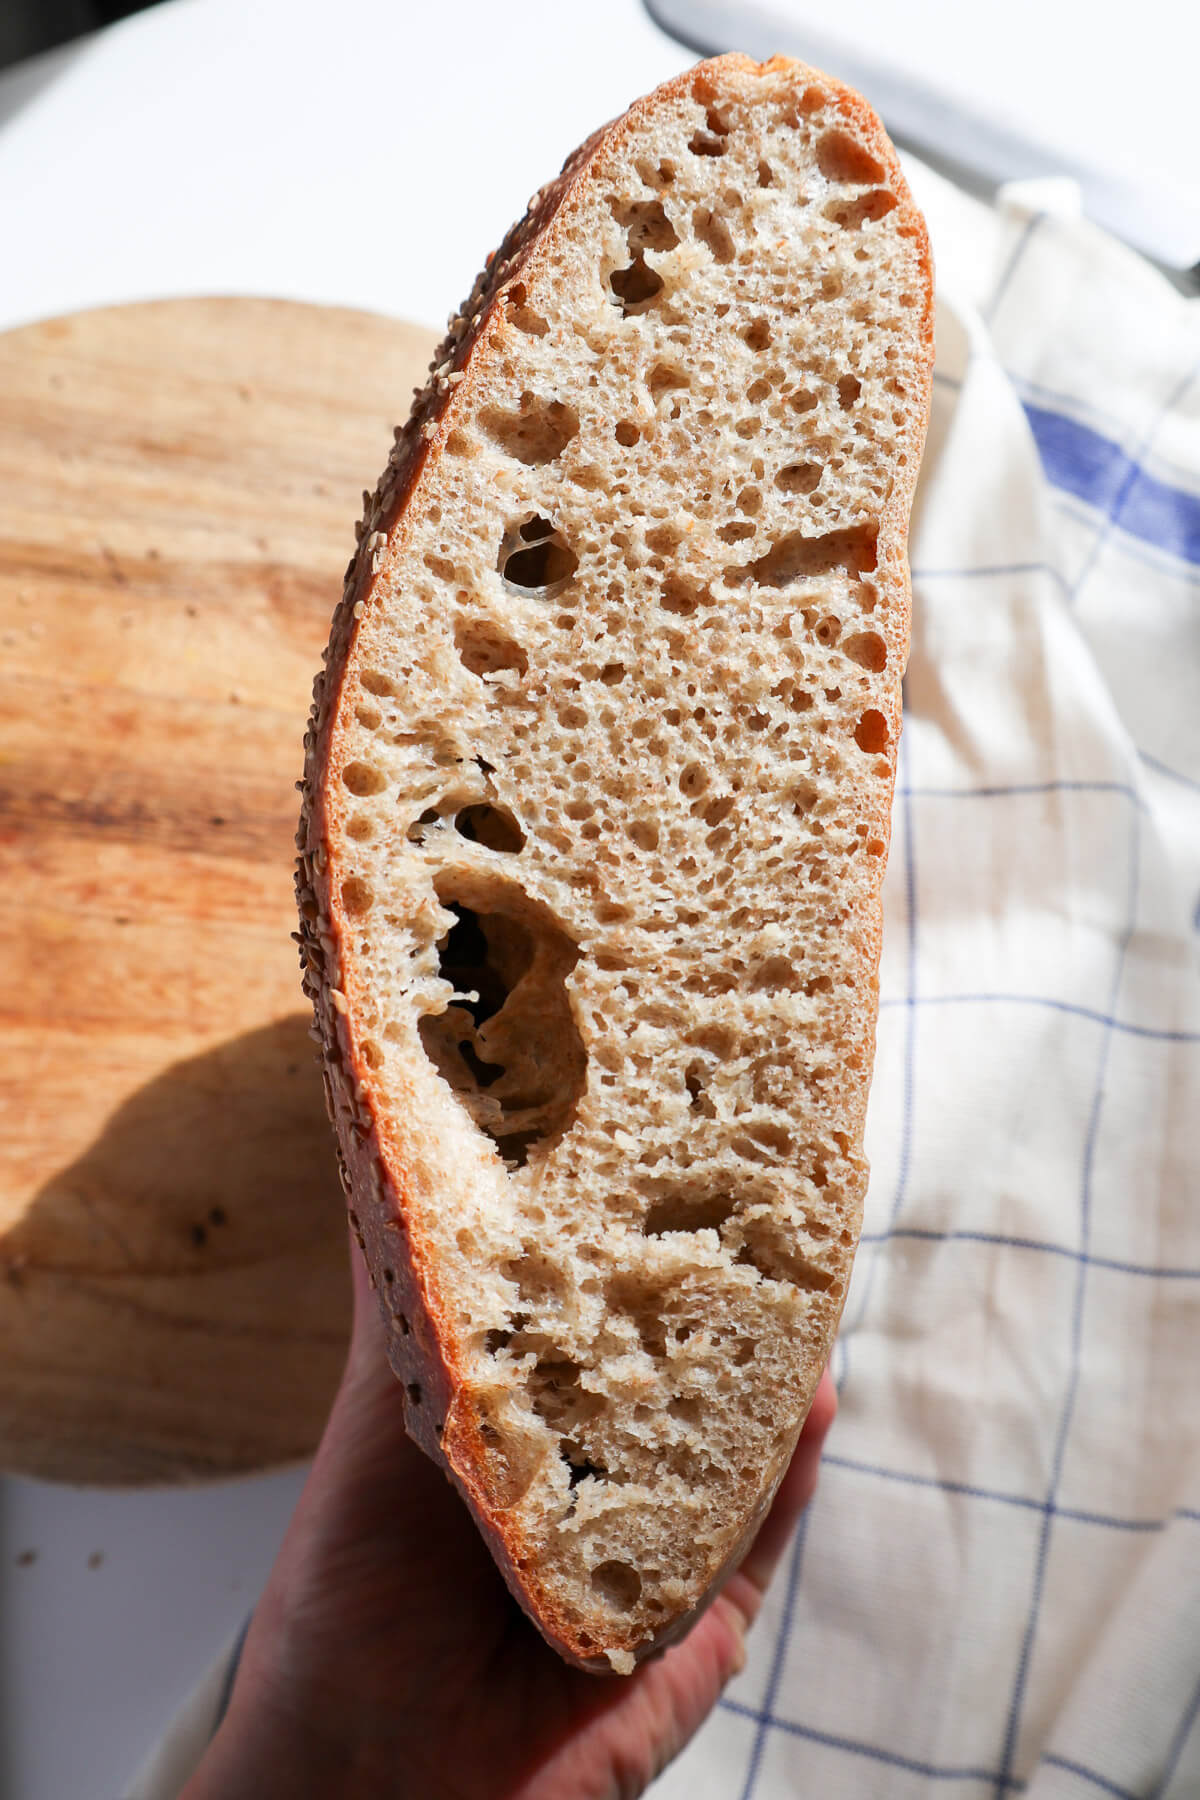
Only 5 minutes of prep, 2 hours of rising and 30 minutes of baking.
Jump to:
Ingredients
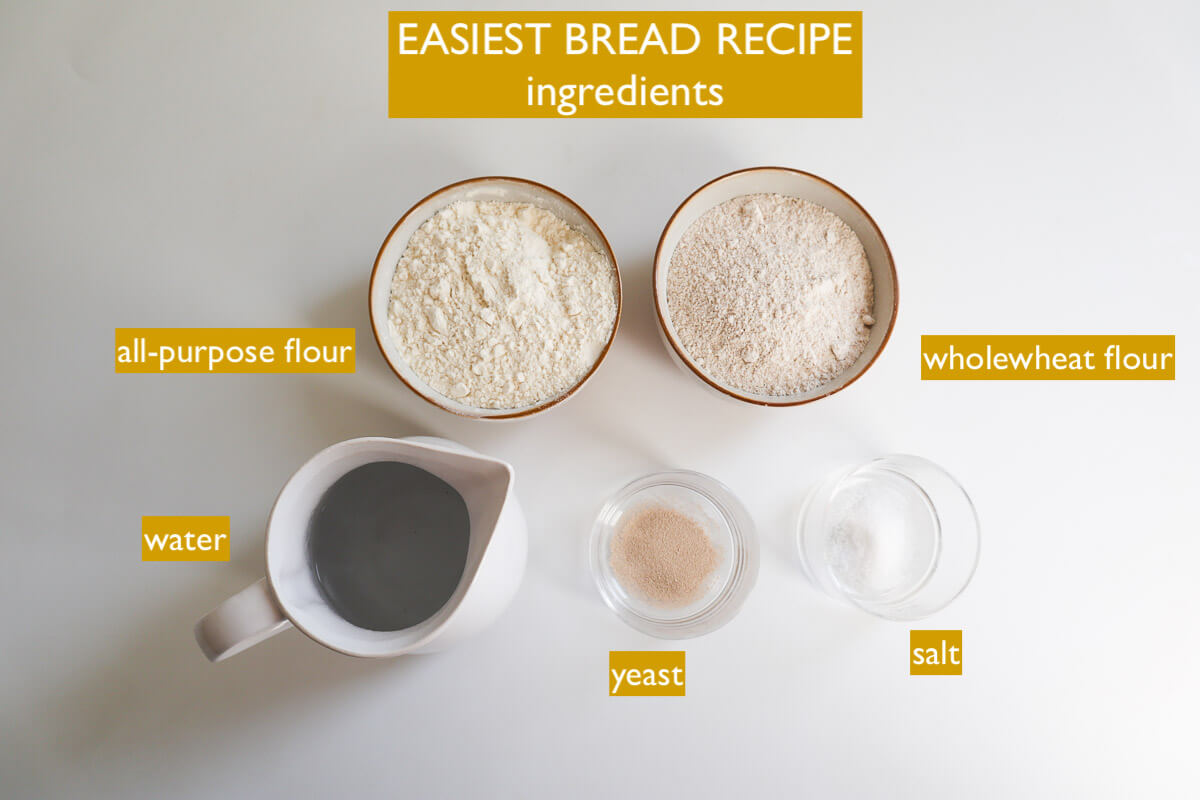
To make this super easy and best bread recipe for baby and toddler (and you of course), you will need the following ingredients:
- Plain flour: To get a nice rise you really need to use some plain flour so I always tend to use half and half plain/wholewheat.
- Whole wheat flour: I find whole wheat flour the easiest to use but rye flour or actually any other wholewheat flour is a great choice. Rye flour has less gluten so the consistency may be a little bit different.
- Dry active yeast: Helps the flour rise.
- Salt: Only 1 teaspoon - well under the daily allowed amount of baby and toddler for a slice of bread.
- Water: plain warm water (almost too hot to touch) in order to activate the yeast and get the dough to rise
No-Knead Bread Nutritional Stuff
There aren't many ingredients in this whole grain bread and most of them are plain so don't add a lot to the whole nutritional value of the bread.
However the main one is certainly whole wheat flour which not only provides a good amount of complex carbohydrates and fiber but also super important minerals such as copper, magnesium and manganese.
The real nutritional value of this no-knead bread lies in the fact that it doesn't have any preservatives, additives or added sugar and is definitely a healthier alternative to any store-bought option.
How To Make Whole Wheat Bread with No Sugar
Make the dough
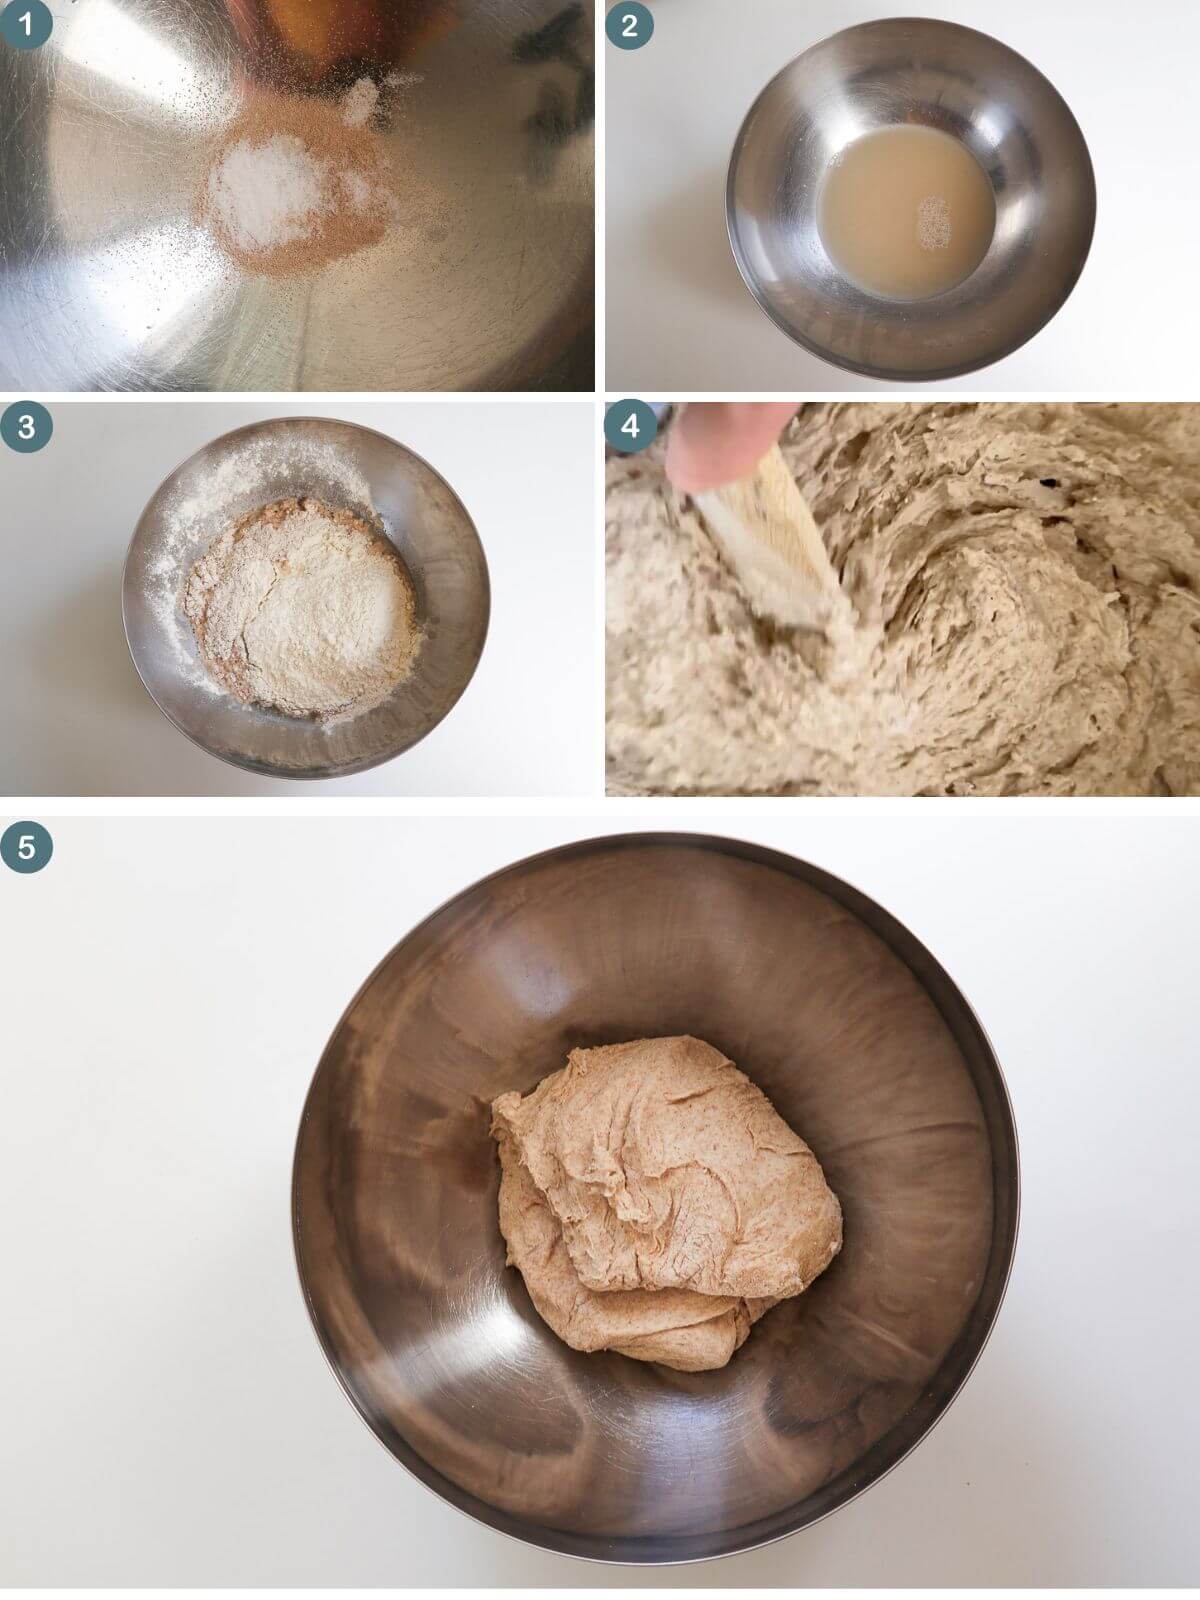
- Take a large mixing bowl and place the salt and dry active yeast into it.
- Pour the warmest tap water in the mixing bowl.
- Mix it all with a wooden spoon.
- Add all the flour in the mixing bowl.
- Mix it all up until you have dough.
Let it rise
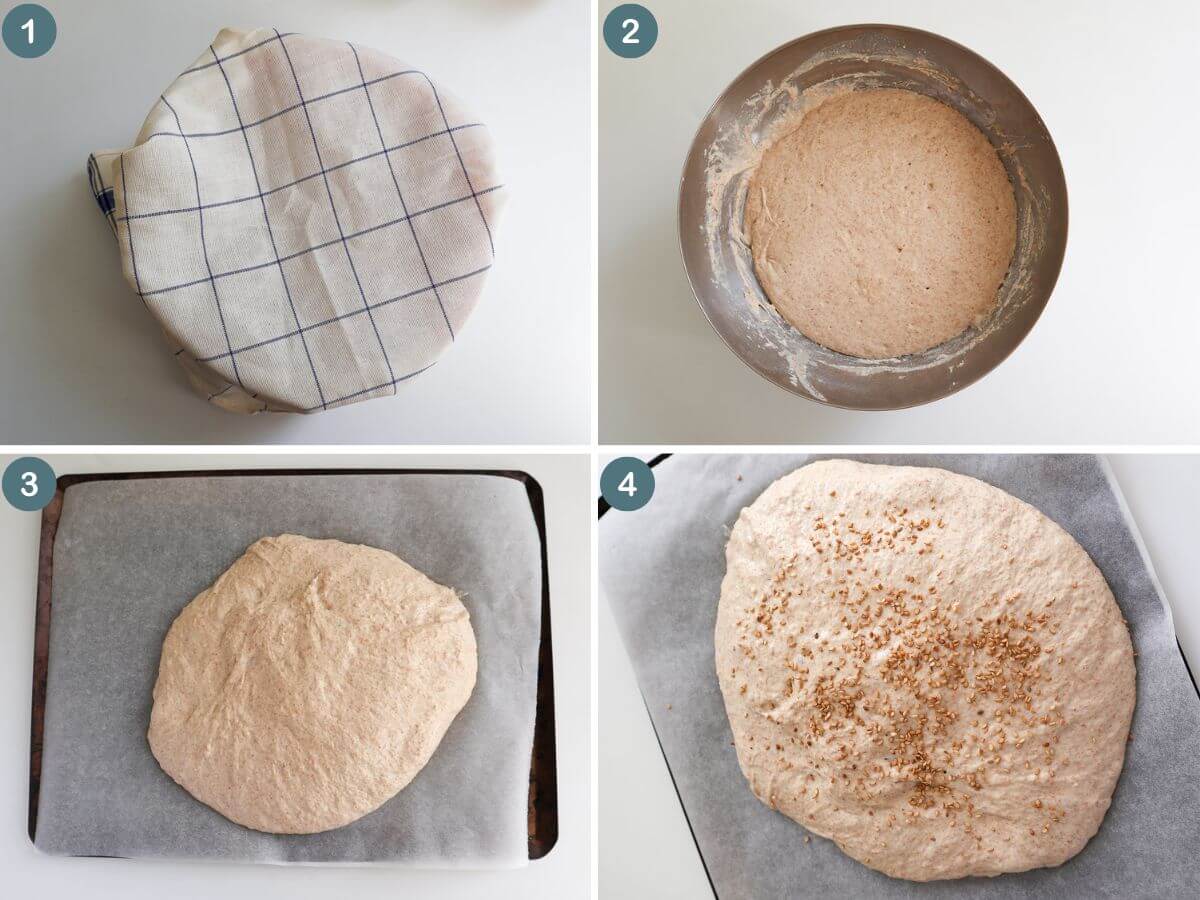
- Cover the bowl with a clean tablecloth and leave in a warm place for about 2 hours until the dough doubles in size.
- Once the dough has risen, take a little bit of flour, sprinkle on top of the risen dough and use it to make a ball.
- Take a spatula and release the edges of the dough from the bowl and transfer to the parchment paper. Shape it with your hands. Don't worry too much about how it looks, we are going for a rustic artisan style bread here.
- Place the ball on a baking sheet lined with parchment paper and let it sit for another 40 minutes.
Bake
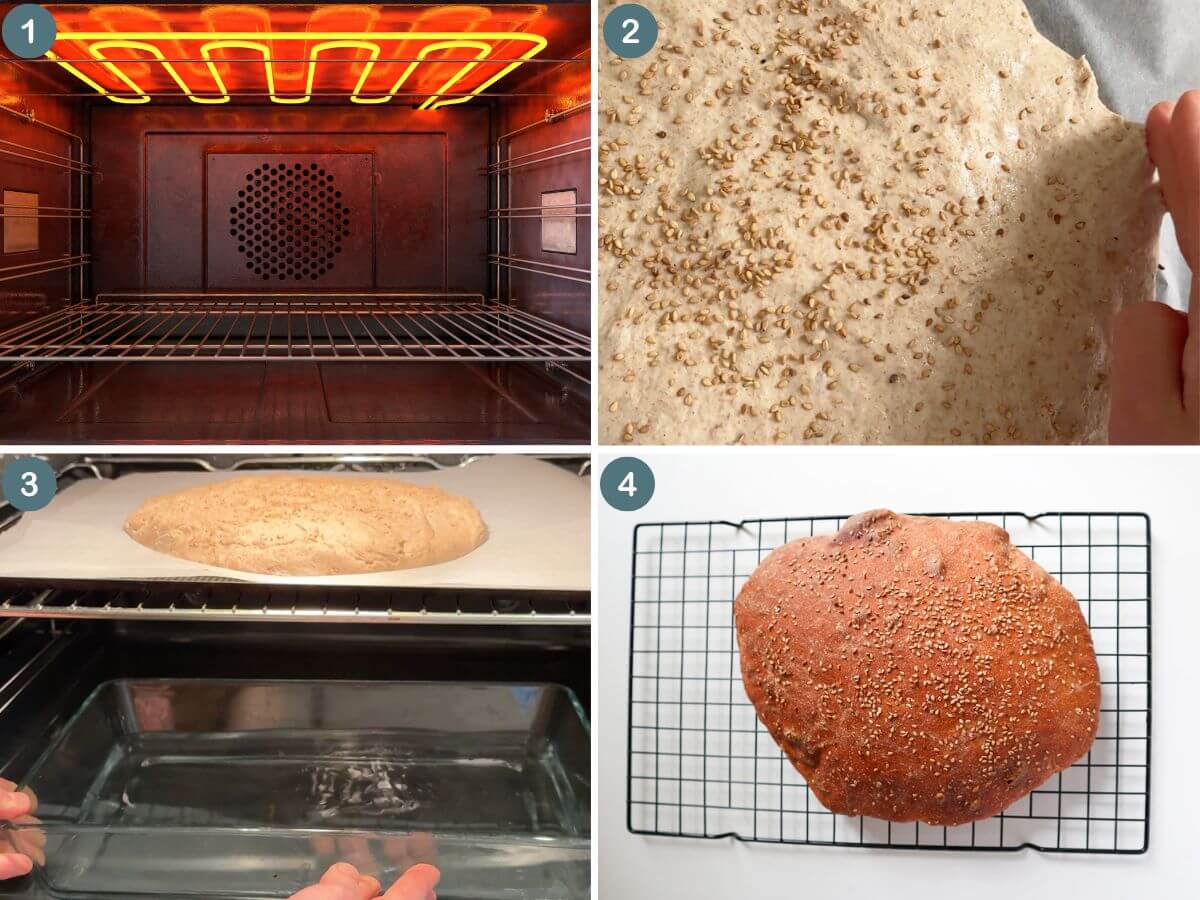
- Preheat the oven to 450 F / 220 C.
- After 40 minutes, gently touch the sides of the dough to make it more compact and hold shape.
- Place the bread in the oven in the middle and at the bottom of the oven place another baking tray with water. This water will help your bread have a crispy cover.
- Bake for 30 minutes.
- Remove from oven and let it cool.
The next day you can reheat it in the oven at 180°C / 360°F if you want.
How to serve bread for baby
- Babies
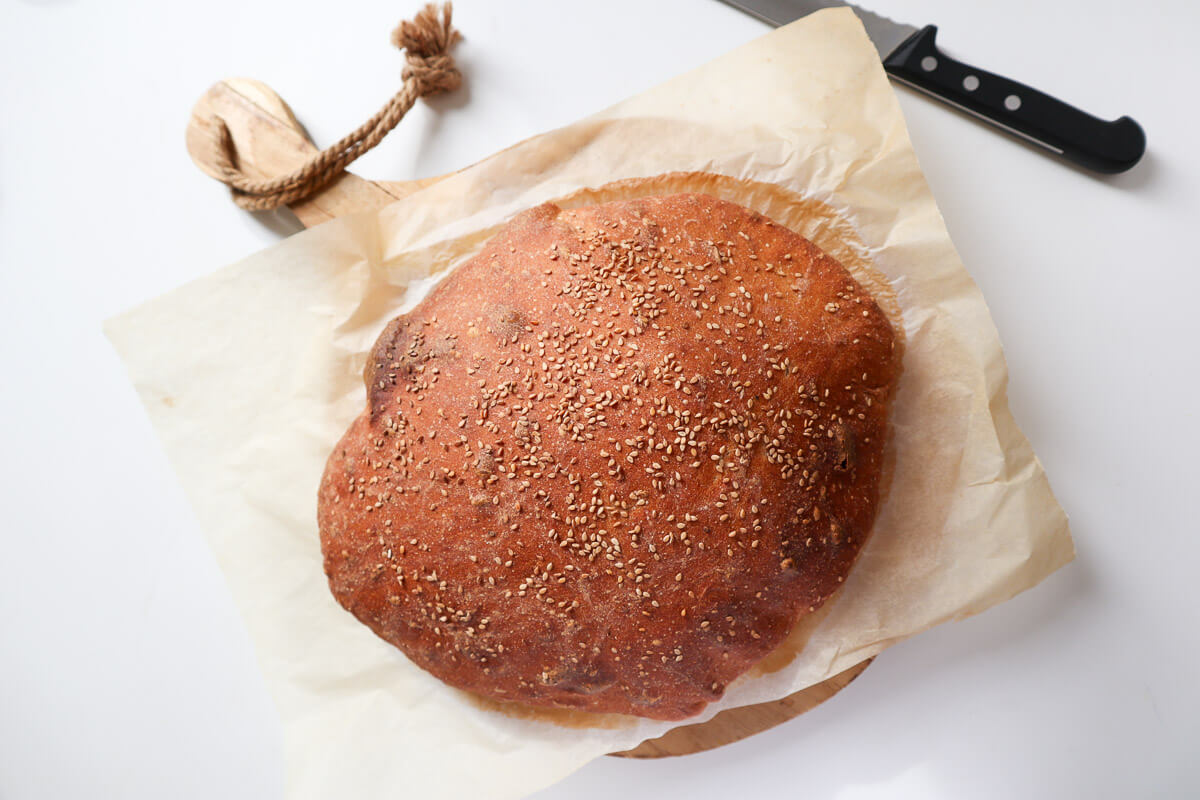
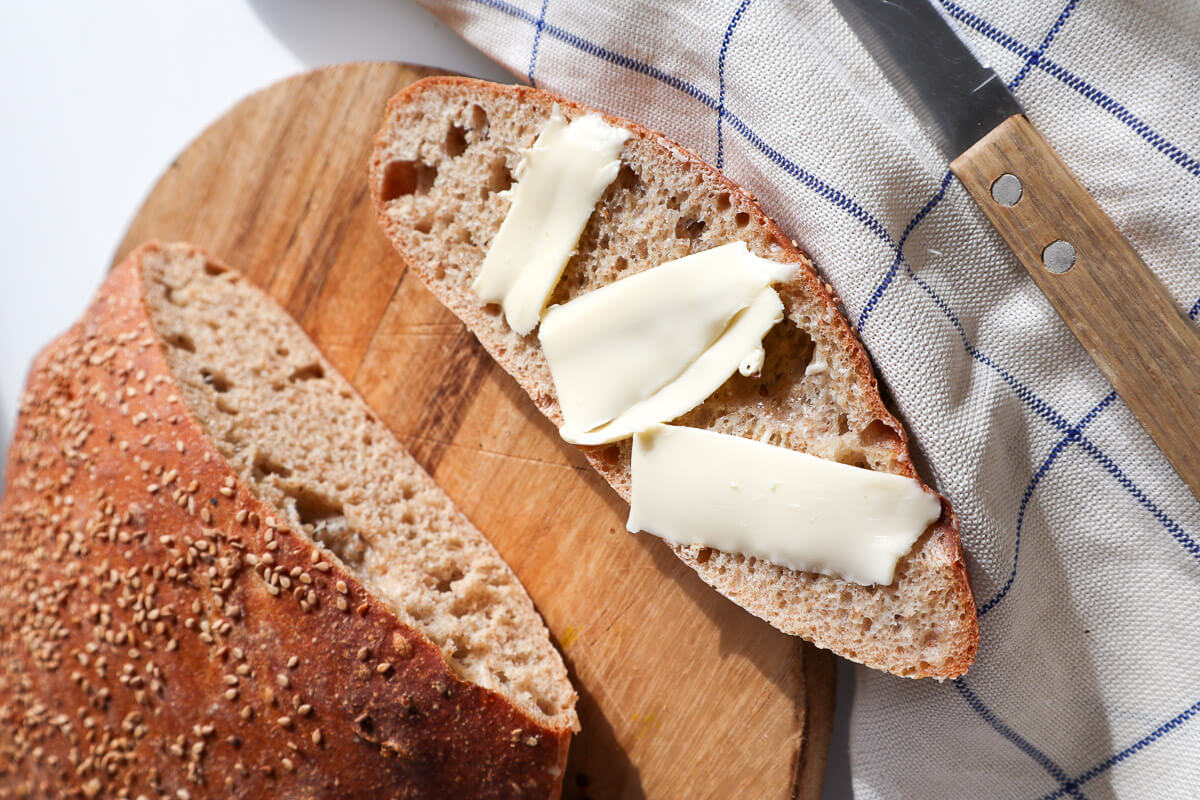
- The crust will be too crunchy but the inside of the bread will be nice, soft and warm and perfect for babies. So just tear it up and serve with some butter, hummus, yogurt.
- Slice the bread and cut some finger sized shapes that your baby can easily grab (without any crust) as finger foods.
- Cut it into tiny pieces (without crust) for pincer grasp practice.
- Everyone else
- When that bread comes out of the oven, tear into it and spread some butter (or whatever you prefer). For me there is nothing better than watching butter melt on freshly baked soft breads.
What about babies and salt?
1 slice of this bread should have approximate 146 mg of sodium which is lower than the recommended daily amount (up to 12 months – less than 1g of salt a day / less than 0.4g sodium) So if you are feeding your baby homemade food with no added salt you should be ok to give them a slice of bread. However if you are giving them pouches, cheese etc just make sure you are under the recommended daily amount for salt.
When can babies eat bread?
Babies can eat bread as soon as they are ready to start eating solid foods and baby-led weaning.
Wheat is a common allergen so make sure that when giving a wheat based product for the first time start by offering a small amount and with food they have already had.
Also bread could be a choking hazard so never leave your baby unattended when eating and cover the bread with some butter, yogurt, hummus to help it go down smoothly.
Possible Wholewheat Baby Bread Variations
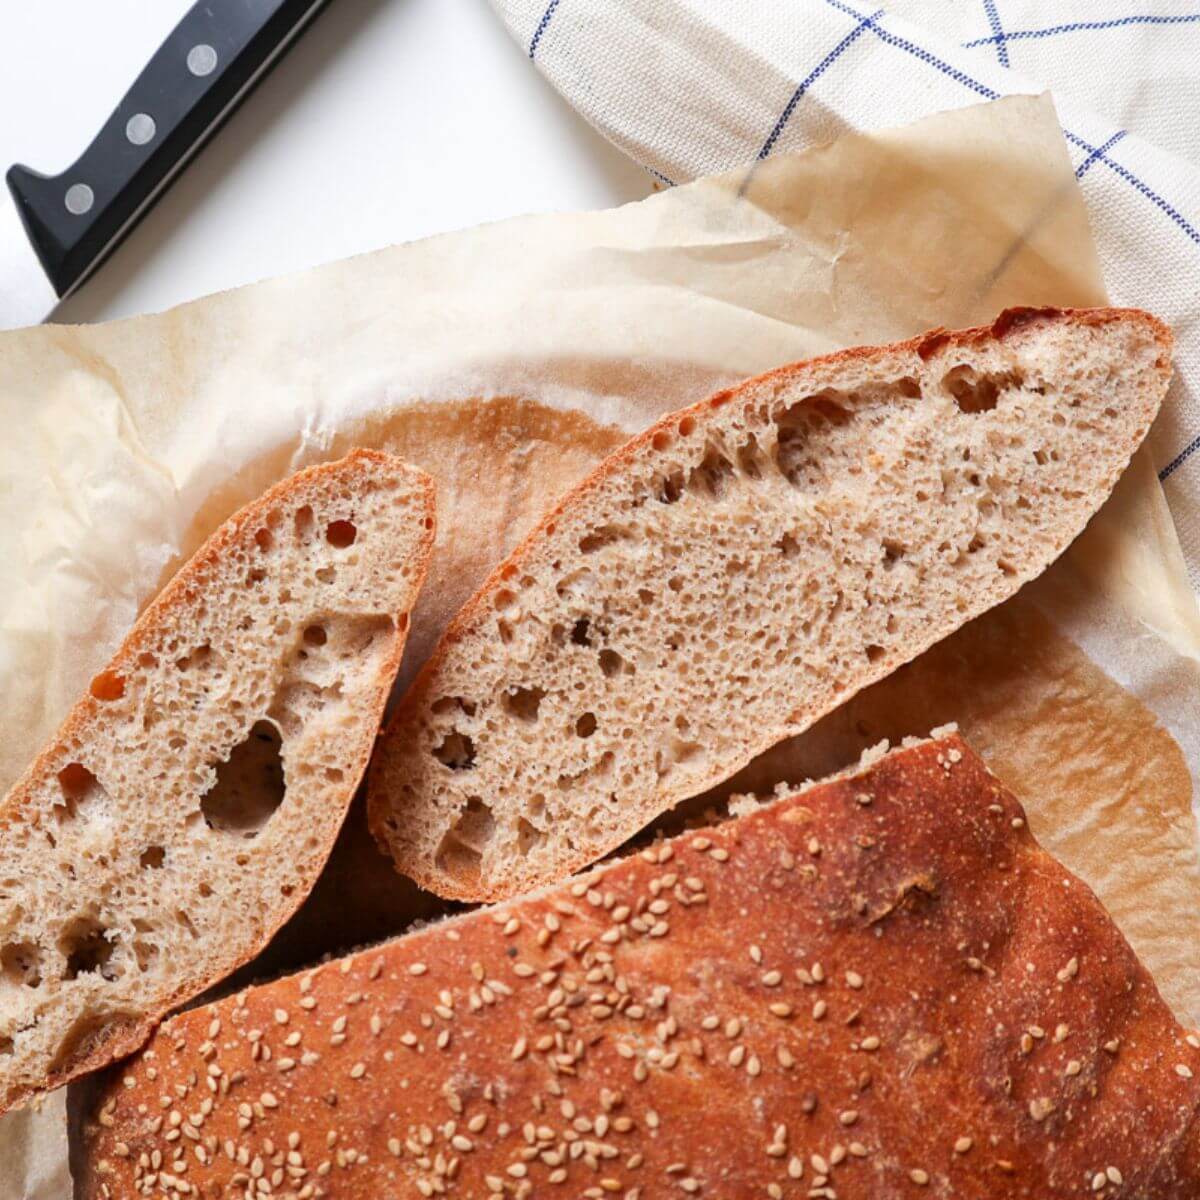
Mix up the flour. You can really use any kind of flour you like here. I would just advise that half of the whole amount is plain white flour as this will ensure that the dough proofs nicely and the bread gets a good rise while baking.
Add some seeds that don't pose a choking risk. To give this bread really your own touch, you can add any kind of seeds you like. Either in the dough itself or on top of the bread just before baking.
More bread recipes
- Easy Artisan Buckwheat Bread
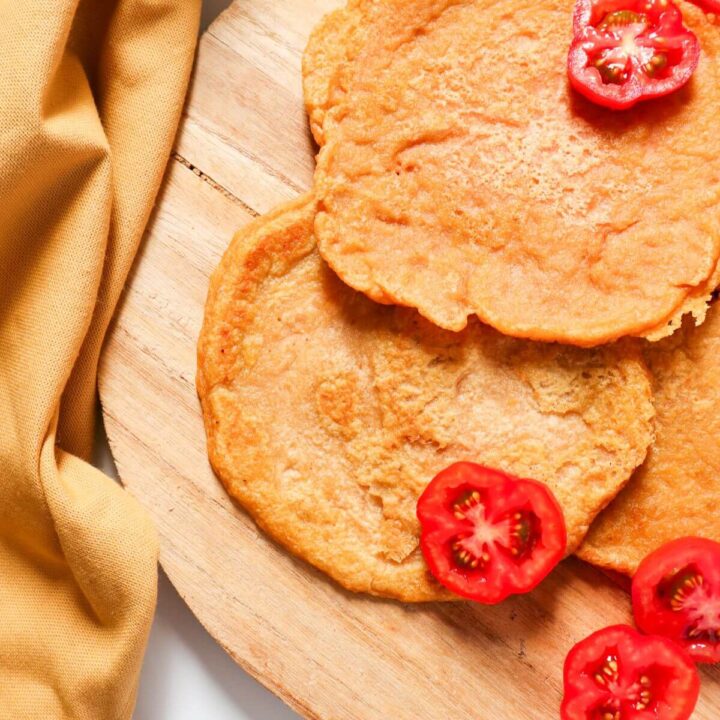
- 2-Ingredient Gluten Free Quinoa Tortilla (Wraps)
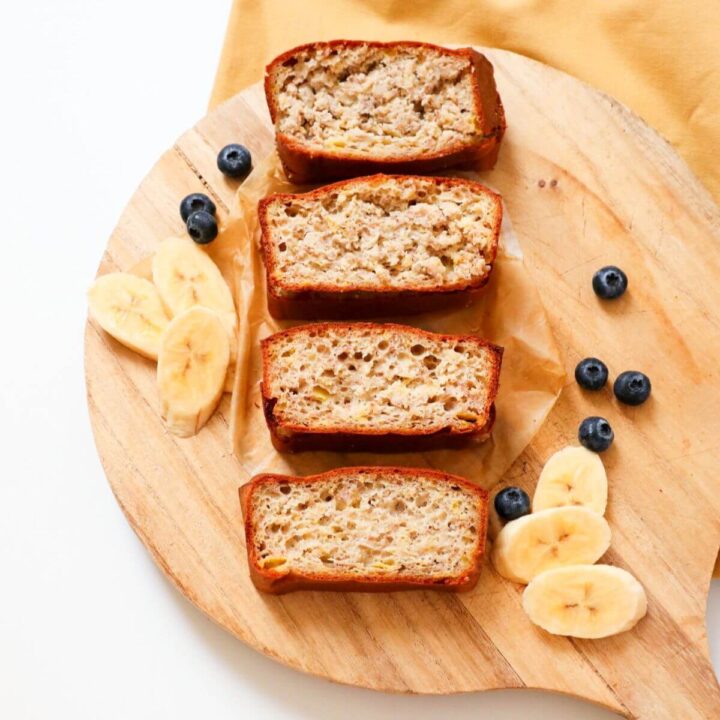
- Easy 4-Ingredient Banana Bread With Self Rising Flour
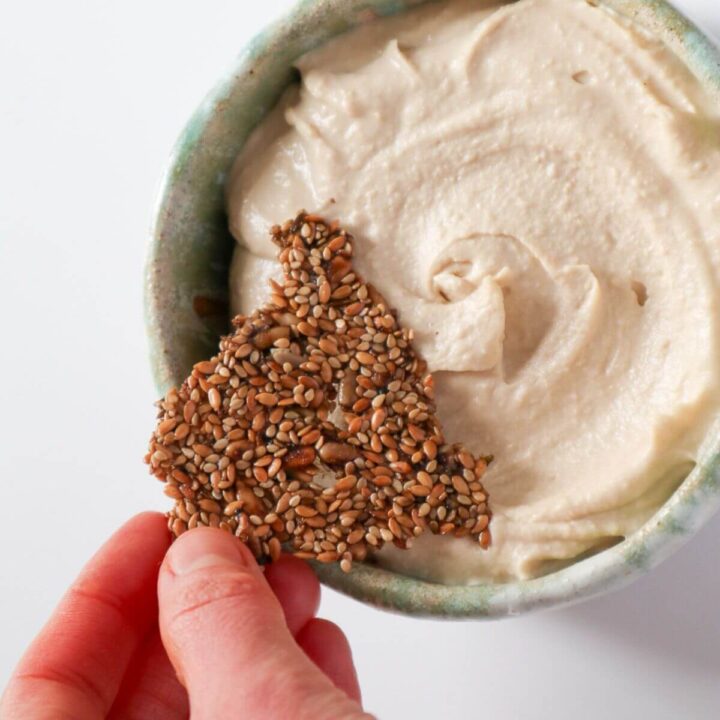
- Homemade Sunflower Sesame Seed Crackers (GF)
Baby's First Bread – Easy No-Knead Bread
EQUIPMENT
- Mixer
Ingredients
- 2 cups whole wheat flour
- 2 cups all purpose flour
- 2 cups very warm water not boiling
- 1 tbsp active dry yeast
- 1 teaspoon salt
Instructions
Make the dough
- Take a large mixing bowl and place the salt and dry active yeast into it.
- Pour hot water in the mixing bowl.
- Mix it all with a wooden spoon.
- Add all the flour in the mixing bowl.
- Mix it all up until you have dough.
Let it rise
- Cover the bowl with a clean tablecloth and leave in a warm place for about 2 hours until the dough doubles in size.
- Once the dough has risen, take a little bit of flour, sprinkle on top of the risen dough and use it to make a ball.
- Place the ball on a baking sheet lined with parchment paper and let it sit for another 40 minutes.
Bake
- Preheat the oven to 450 F / 220 C.
- After 40 minutes, gently touch the sides of the dough to make it more compact and hold shape.
- Place the bread in the oven in the middle and at the bottom of the oven place another baking tray with water. This water will help your bread have a crispy cover.
- Bake for 30 minutes.
- Remove from oven and let it cool.
Notes
- Babies. The crust will be too crunchy but the inside of the bread will be nice, soft and warm – perfect for babies So just tear it up and serve. Or slice the bread and cut finger sized shapes that your baby can easily grab (with no crust).
- Everyone else. When that bread comes out of the oven, tear into it and spread some butter (or whatever you prefer). For me there is nothing better than watching butter melt on freshly baked bread.
- 1 slice of this bread should have approximate 146 mg of sodium which is lower than the recommended daily amount (up to 12 months – less than 1g of salt a day / less than 0.4g sodium)}. So if you are feeding your baby homemade food with no added salt you should be ok to give them a slice of bread. However if you are giving them pouches, cheese etc just make sure you are under the recommended daily amount for salt.

Cari
I love this recipe! I cut the portion in half to try it. Have you made this into a load as well? Cari
Ana
Thanks Cari.
I have not, but will try and see:)
Kent
4 cups of water makes this about a 100% hydration level. Is that correct? My "dough" came out like pancake batter, I had to add another cup and a half of flour and it still is not as stiff as the dough pictured in the "after mixing" photo. I've never worked with such a high hydration dough. I am hoping I can use the slap and fold method to strengthen the gluten.
Ana
Hi Kent! Thank you for commenting and pointing this out! It was an error in the recipe - should be two cups of water. I am sorry!
We also have a glitch on the website so please use the instructions only in the recipe card and not in the blog post at this time until we are able to correct it. Thank you! I promise if you use 2 cups of water the bread turns out great!
Kent
Thanks... I measured my flour the night before since I was going to bake at my daughter's house (where the baby is). As I was driving home from babysitting today, I thought I might have used an 8 cup measure rather than a 4 cup container; or maybe I only thought I measured 2 cups each, but only completed one instead. [My metric water weight conversion was also off.] Many thanks for the reply! We will try giving the 1-year-old some of the toasted bread tomorrow. Everything baked up well so we'll see how it goes.
Ana
Great! Thanks again for letting me know. The blog post has been fixed now too so all is correct:)